I recently inherited some older machines and, to support some ongoing in-house experimentation I've been involved in, set them up as quick-and-dirty servers to help serve up geospatial data services - the approach I took was to build what are essentially minimal machines running linux in command-line mode, and then load GeoServer on them to serve the data - As I haven't blogged in a while, a friend suggested that posting a quick description of the mechanics of this might be a good thing to share for folks who haven't dipped their toes into Linux much.
As a disclaimer, I do not claim to profess guruhood when it comes to Linux or the other packages, this is not necessarily warranted to be a "hardened-and-tweaked" system for production, it's just some very quick and dirty steps toward standing up a headless Linux-based GeoServer instance. Note that this uses the default Jetty install - some folks prefer to run it under Tomcat, which is a different path.
So, I started out with the "minimal install CD" for Ubuntu 9.04, available here:
https://help.ubuntu.com/community/Installation/MinimalCD
Select a package appropriate for the CPU you are using - in my case, I chose Ubuntu 9.04 for 32-bit PC.
Burn the ISO and follow the prompts to install from the text-based installer as command-line interface (CLI). I essentially went with the defaults. You will want to have the machine connected to the internet so that it can identify and set up the network connection and grab any files needed during install.
Once you've installed a minimal version of Linux, you will be ready to configure and install the other goodies.
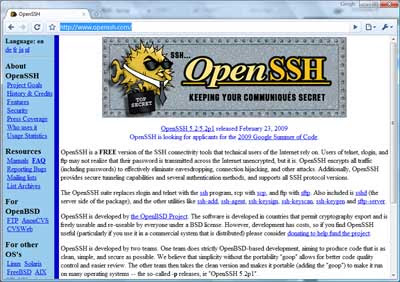
The step for doing this is simple:
Log in to your Linux machine, and use the following command:
sudo apt-get install openssh-serverThis will download and install the OpenSSH package. For folks new to Linux,
sudo tells it to use superuser privileges and permissions, and will ask for the root password used when you installed Linux. apt-get install uses the Advanced Package Tool to search for, retrieve and install software packages for Linux - this makes installation of much standard software in Linux easy.For remote administration, you'll want to know how to reach your machine on the network - you can get the IP address by using the
ifconfig command, which will give results something like this: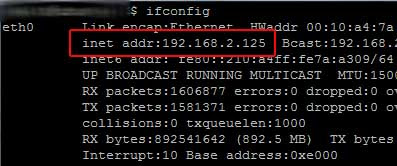
If you use Windows as a primary OS for your other work, you can then access the box from a Windows machine using an SSH client. I usually use PuTTY: http://www.chiark.greenend.org.uk/~sgtatham/putty/download.html
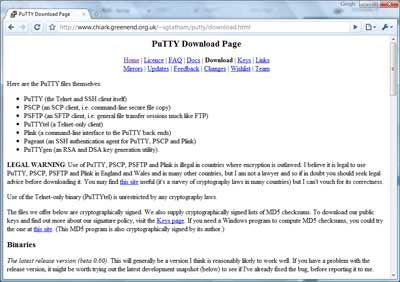
From there, you can install PuTTY on your windows machine and then access the Linux box via command-line interface remotely for administration.
Plug in the IP address you got above:
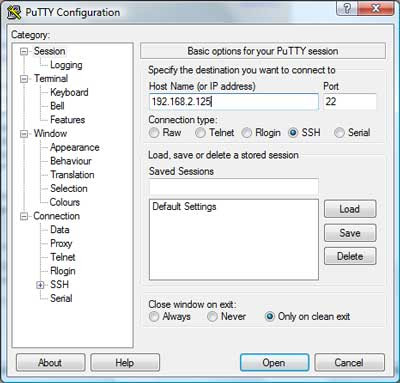
and voila - you should be presented with a login screen for your linux box:
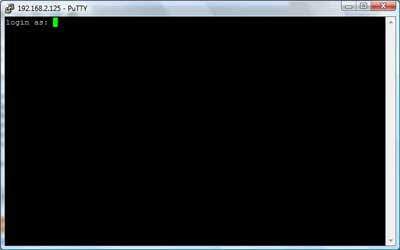
Tools like PuTTY are a great asset when it comes to administering boxes.
Side trip into remote administration aside, on to the REAL stuff: Installing GeoServer.
As a prerequisite, you will need to install the Java JDK - the GeoServer install page gives some recommendations, and here's how you would do it from the command line:
sudo apt-get install sun-java6-jdkNext, you will need to do some configuration of the JDK
Define the default Java to use:
sudo update-java-alternatives -s java-6-sunAnd set the JAVA_HOME directory - this is doable in a number of ways, you may or may not want to define it in /etc/environment. I really like 'nano' as an editor for command-line Linux environments and it comes pre-installed in the minimal Ubuntu 9.04 version.
sudo nano /etc/environmentAgain 'sudo' makes sure you have an appropriate privilege level to write the changes.
In nano, you can navigate around in the file using your arrow keys. Insert the following:
JAVA_HOME=/usr/lib/jvm/java-6-sun-1.6.0.14/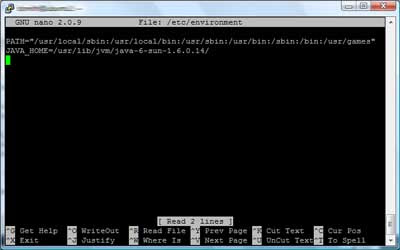
Now on to the fun stuff - installing GeoServer.
GeoServer isn't available via apt - so you will need to download and unzip it to install it.
To be able to use ZIP archives,
sudo apt-get install unzip will provide that capability. Next, you can download GeoServer.cd /usr/shareTo download it, the download location given on the GeoServer page is http://downloads.sourceforge.net/geoserver/geoserver-1.7.6-bin.zip
wget -
sudo wget http://downloads.sourceforge.net/geoserver/geoserver-1.7.6-bin.zipsudo unzip geoserver-1.7.6-bin.zipDepending on where you put it and privileges held by the account you are using, you may also need to ensure you have ability to access and run GeoServer and that GeoServer can create any files it needs.
chown will change ownership, using -R makes it recursive through subfolders and files:sudo chown -R geoserver_username geoserver-1.7.6 would change all files and directories to be owned by the user specified (geoserver_username as a placeholder).You can list files using
ls and navigate directories using cd.You may or may not also then want to configure directories, such as defining the location of your GeoServer installation directory, e.g.
GEOSERVER_HOME="/usr/share/geoserver-1.7.6" - again, you could do this using nano to edit /etc/environment - and there are also plenty of other ways to do this. You could also define other parts of GeoServer, such as GEOSERVER_DATA_DIR at this point as well - consult the GeoServer docs for details there... http://docs.geoserver.org/1.7.x/en/user/Pretty much ready to run now...
cd to the /bin directory under your geoserver install, e.g. cd /usr/share/geoserver-1.7.6/bin" and launch the startup script sh startup.sh and voila... You will see some program output scroll by,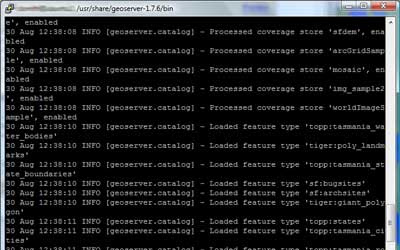 ultimately resulting with an output line like
[main] INFO org.mortbay.log - Started SelectChannelConnector@0.0.0.0:8080 - this should tell you that the GeoServer Jetty container is up and listening for connections on 8080.http://192.168.2.125:8080/geoserver/ and after an initial "loading" screen you should get the GeoServer web interface: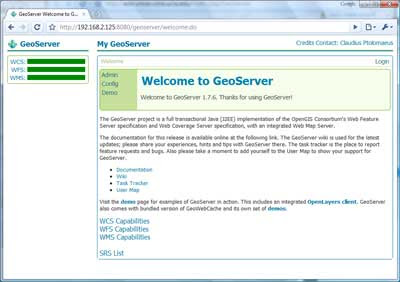
And you are off to the races... Confirm that it works via the demos:
OpenLayers NYC Tiger map

Again, this is just meant to be a quick-and-dirty guide - enough to make even someone with minimal Linux experience armed and dangerous - and from here, there are many tweaks and customizations that can be made, such as optimizing performance, hardening and security and so on (there are plenty of discussions around the web and on listservs regarding this)- but I figured, I'd at least share this as a quick start for anyone looking to play with GeoServer in a minimal Linux environment...


